19 Raised Garden Bed Layout Ideas to Transform Your Backyard into a Growing Paradise
Raised garden beds are like the secret weapon of any gardener — whether you’re working with a postage-stamp patio or a sprawling suburban yard.
They help control soil quality, improve drainage, and keep weeds at bay.
More than that, the way you layout your raised beds can either turn your garden into a harmonious masterpiece or a chaotic jungle.
Let’s get into 19 smart, stunning, and super-efficient raised garden bed layout ideas that will help you grow more food (or flowers) in less space — and do it beautifully.
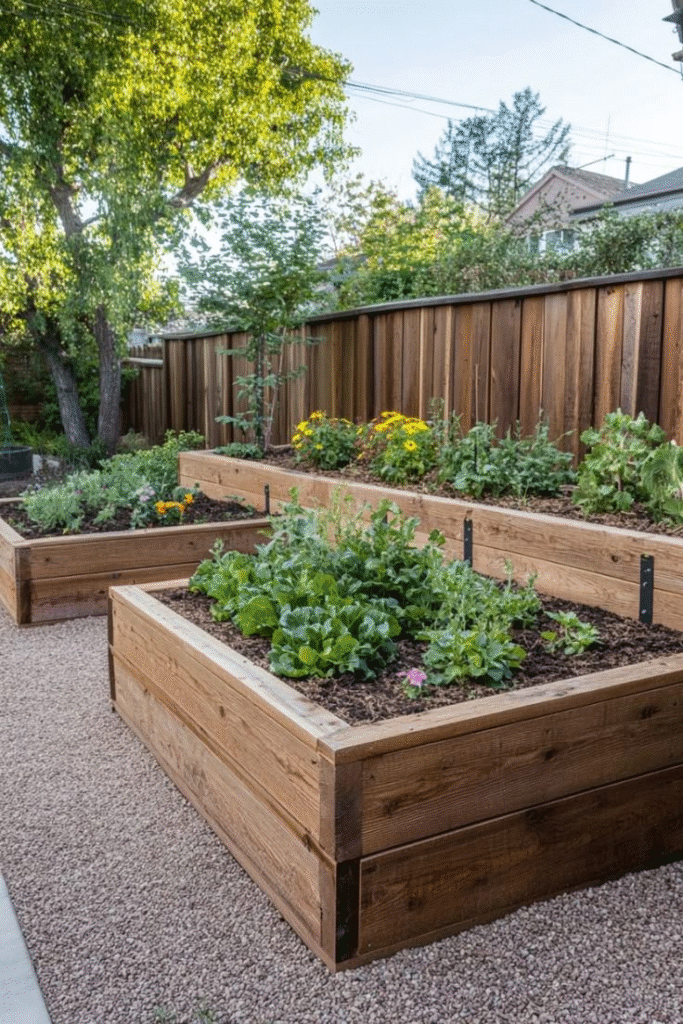
Square Grid Layout
The square grid is the Marie Kondo of raised bed layouts. Everything is in its place, neat and functional.
This layout involves arranging multiple 4×4 or 4×8 beds in a square formation, typically with walkways in between.
Why is it so effective? Because it’s easy to manage, visually balanced, and allows you to practice crop rotation without turning your planting plan into a puzzle.
Pro Tip: Stick to 3-foot-wide paths if you want to fit a wheelbarrow between beds.
I learned that the hard way—my first garden had me doing tightrope acts just to weed!
U-Shaped Layout
Think of this like a cozy reading nook, but for your tomatoes and carrots.
The U-shaped layout gives you access from three sides, and it’s excellent for maximizing growing space in a small area.
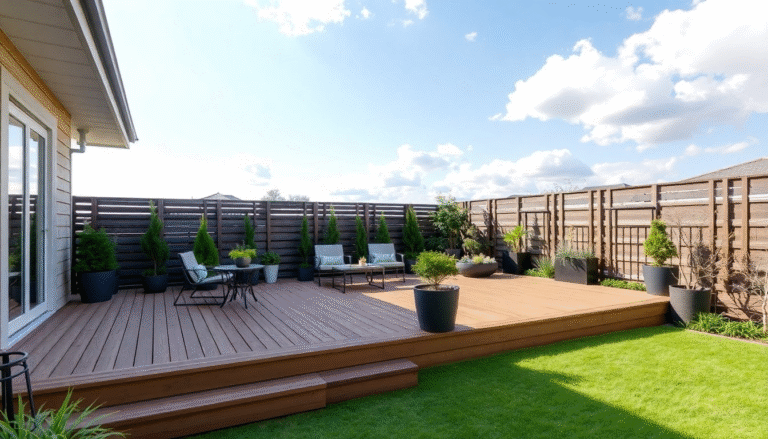
Use this design in corner spaces or along a fence. It’s also great for raised beds on decks or patios, where you need every inch to count.
Bonus? It’s an excellent layout for gardeners with mobility issues, as it allows you to reach all your plants without having to stretch or step into the bed.
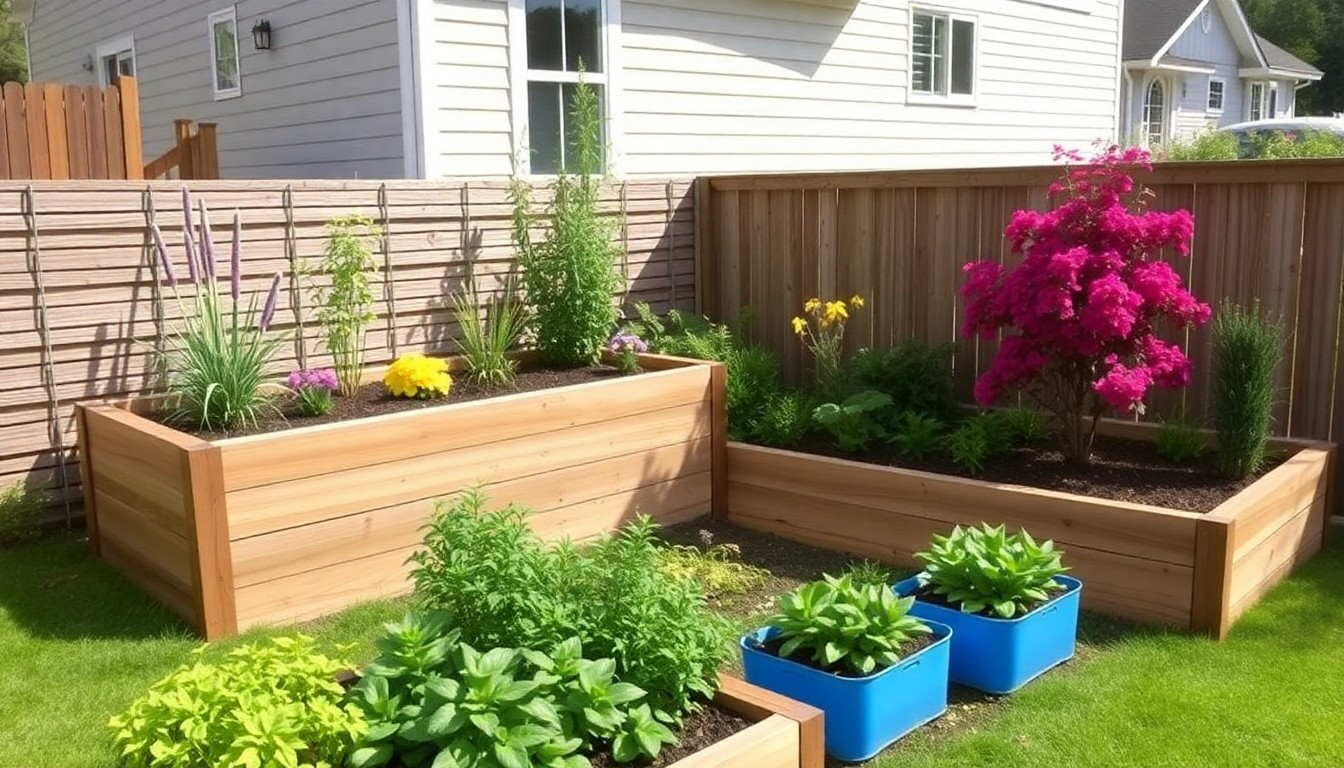
L-Shaped Layout
The L-shape is the unsung hero of awkward corners and small backyards. It hugs a corner like a cat curling into a sunbeam.
This layout is particularly useful when you want to define two zones in your yard—like separating your edible garden from your ornamental beds.
You can grow lettuce on one leg of the “L” and lavender on the other.
Stat to Know: A survey by Gardeners’ World found that 68% of gardeners use mixed layouts to integrate both beauty and function.
The L-shape is a top contender in that trend.
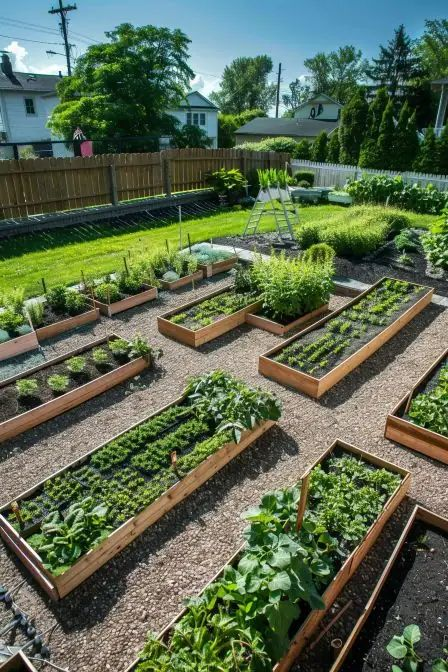
Parallel Rows Layout
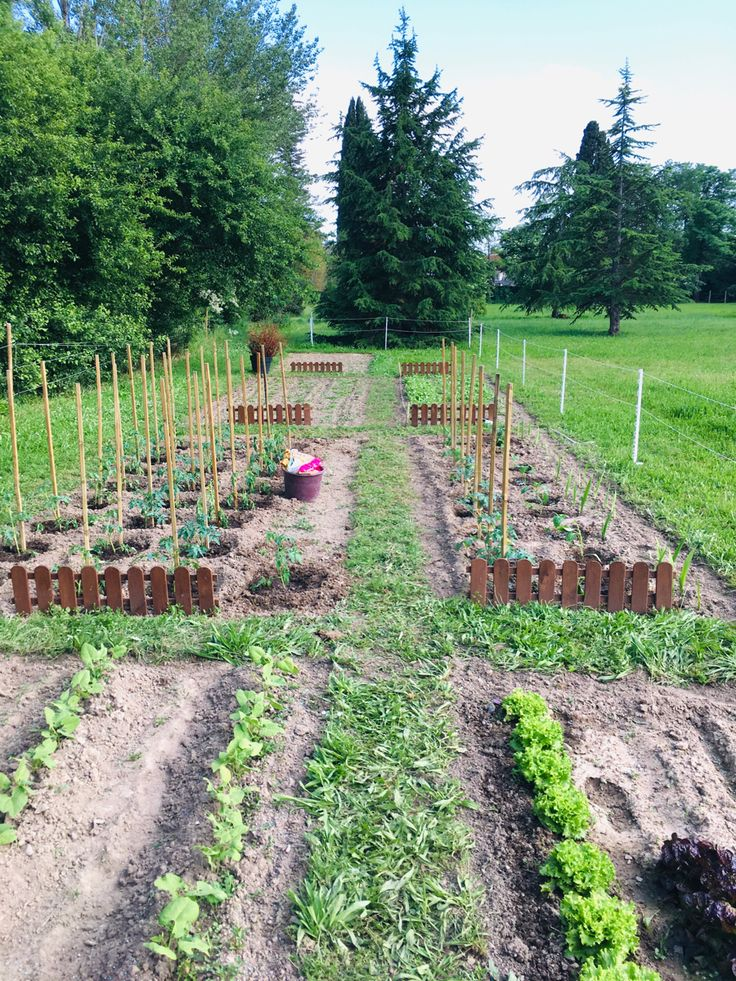
Classic. Reliable. Like your favorite pair of jeans. Placing raised beds in parallel rows is the most straightforward layout — ideal if you have a rectangular space.
This layout allows for easy watering, drip irrigation setups, and sun exposure, especially if you orient the beds north to south.
That ensures all plants get equal sunshine throughout the day.
When I finally got serious about growing tomatoes, I converted my mish-mash layout to parallel beds.
My harvest? Let’s just say I gave away so many tomatoes, the neighbors started ducking when they saw me.
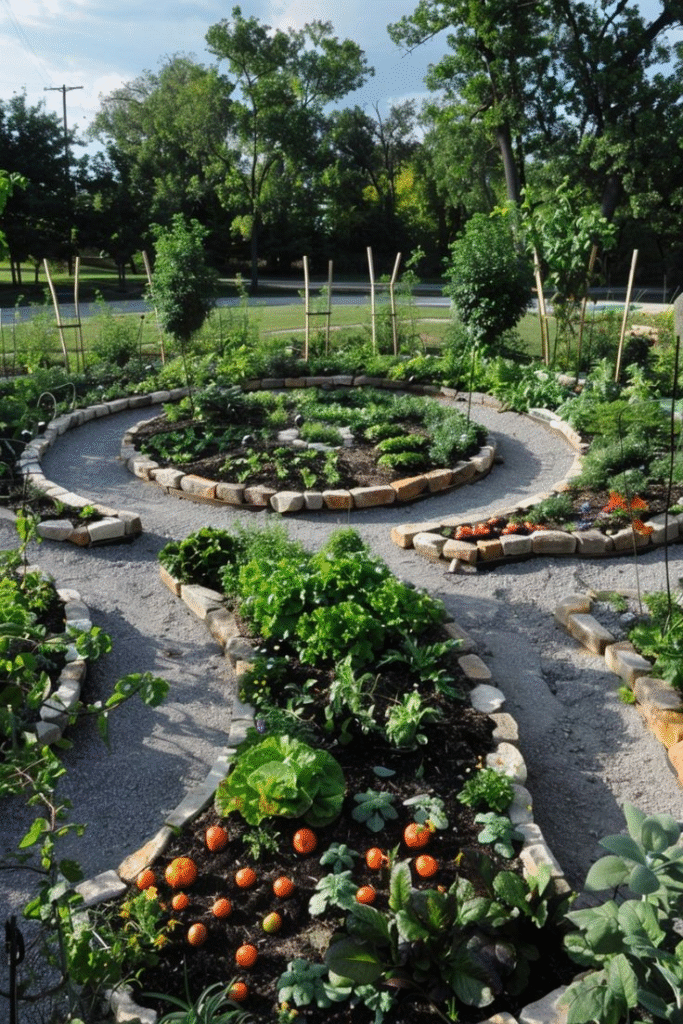
Circular Layout
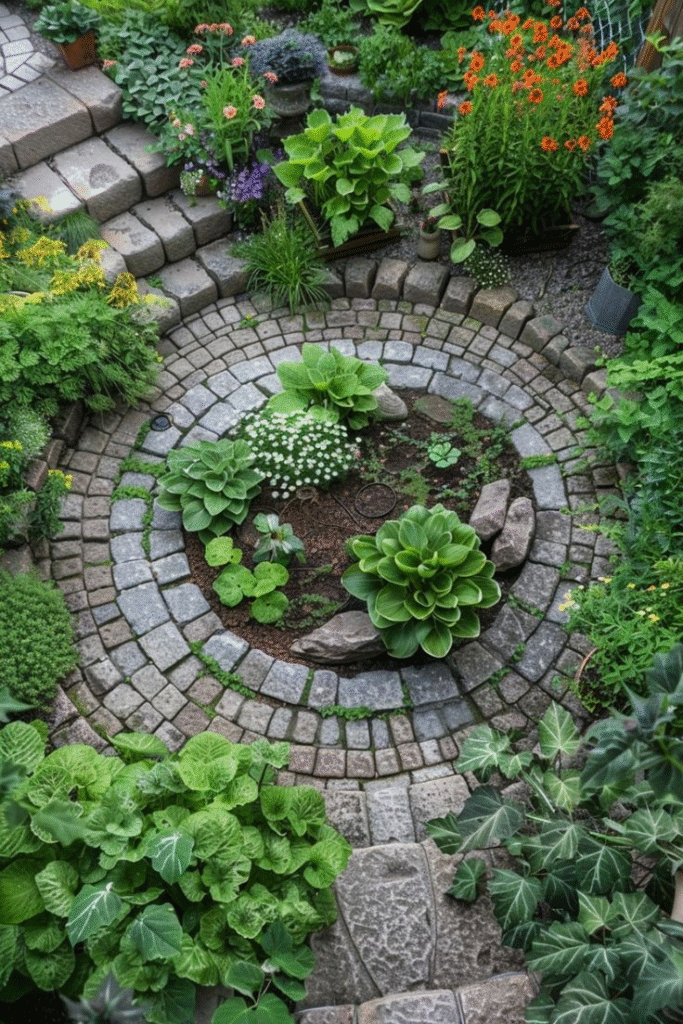
Want a show-stopper garden? Go circular.
Arrange raised beds like spokes on a wheel with a focal point in the center — maybe a birdbath, trellis, or vertical herb spiral.
This layout is ideal for ornamental edible gardens — think rainbow chard, purple basil, nasturtiums.
The design feels lush and welcoming, and you can access each bed with minimal walking.
Garden Whisper: Use stepping stones for the central hub. It’s both practical and photogenic.
Spiral Layout
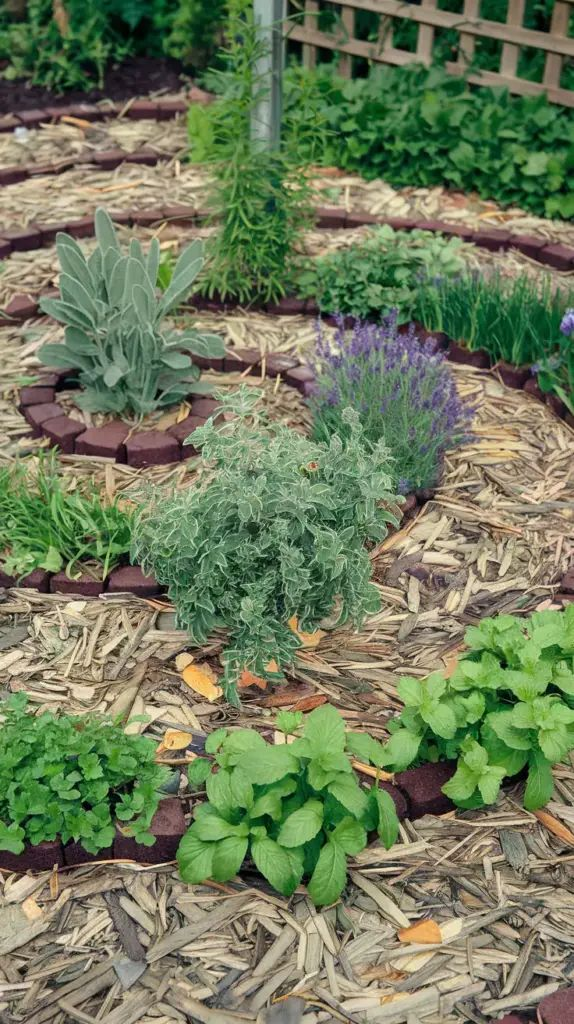
Here’s where your inner artist gets to play. Spiral layouts, usually in a snail-shell shape, are excellent for herbs and shallow-rooted plants.
Each layer of the spiral can have slightly different soil and sun exposure — perfect for mixing thyme, basil, and rosemary.
This layout is space-efficient, often requiring less than 4 square feet to grow 8+ types of herbs. Plus, it adds that Pinterest-worthy charm to your garden.
Keyhole Garden Layout
Originally developed in Africa to improve gardening in dry climates, the keyhole garden is a raised bed shaped like a circular pie with a wedge cut out — allowing you to walk into the center for easy access.
At its heart? A compost basket that nourishes the surrounding soil. It’s both eco-conscious and highly productive.
Hot Fact: Keyhole beds use up to 70% less water than traditional beds thanks to better moisture retention from the compost core.
Raised Bed Maze Layout
This layout is as fun as it sounds — beds arranged like a miniature maze.
It’s not just whimsical; it also offers privacy, microclimates, and pathways for different zones.
Use this in larger gardens or educational spaces, especially with kids. It turns gardening into an adventure. Who wouldn’t want to harvest kale in a labyrinth?
T-Layout
The T-shaped bed is a compact, smart configuration for backyard gardens with limited width.
One long bed with a perpendicular top bed forms the “T,” allowing access from all directions.
This setup works beautifully for crop rotation.
You can divide your plants by height, type, or even companion planting groups (like tomatoes, basil, and marigolds together).
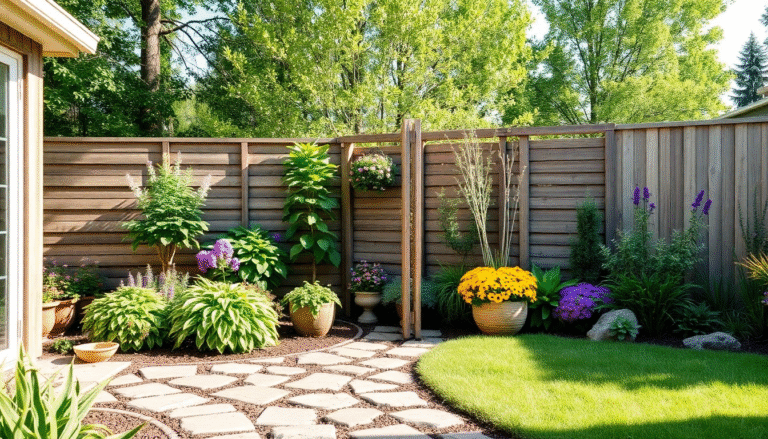
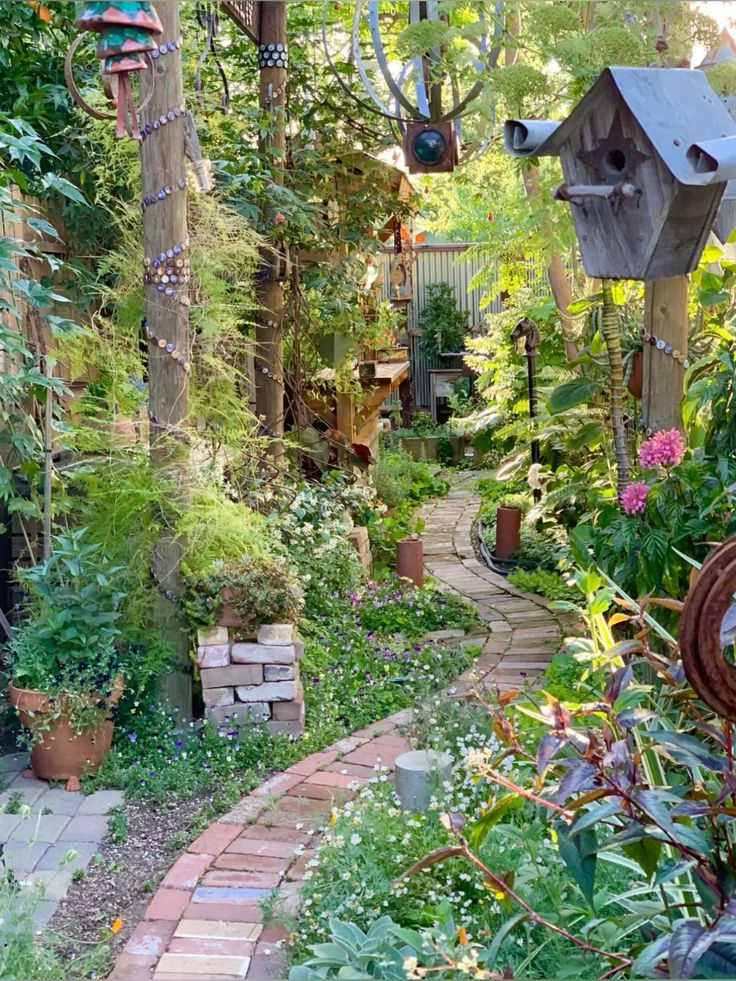
Island Layout
Place your raised beds in standalone “islands” scattered throughout your yard.
It breaks up the visual monotony and allows you to mix vegetables with perennials, pollinators, or even berry bushes.
This layout shines when you want a more natural, cottage-core feel instead of rigid symmetry.
Just keep paths mulched or gravelled to avoid muddy shoes — learned that after a spring downpour turned my island garden into a squishy swamp.
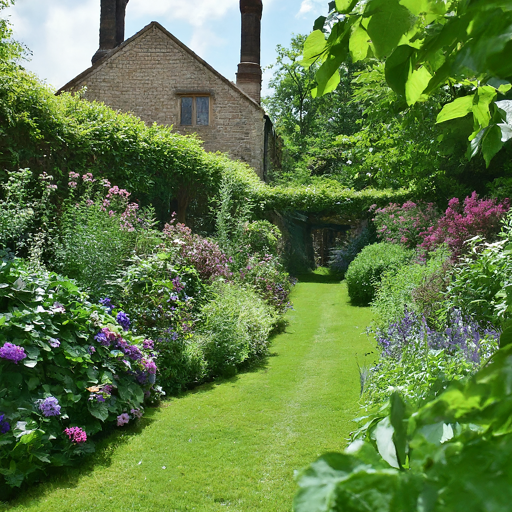
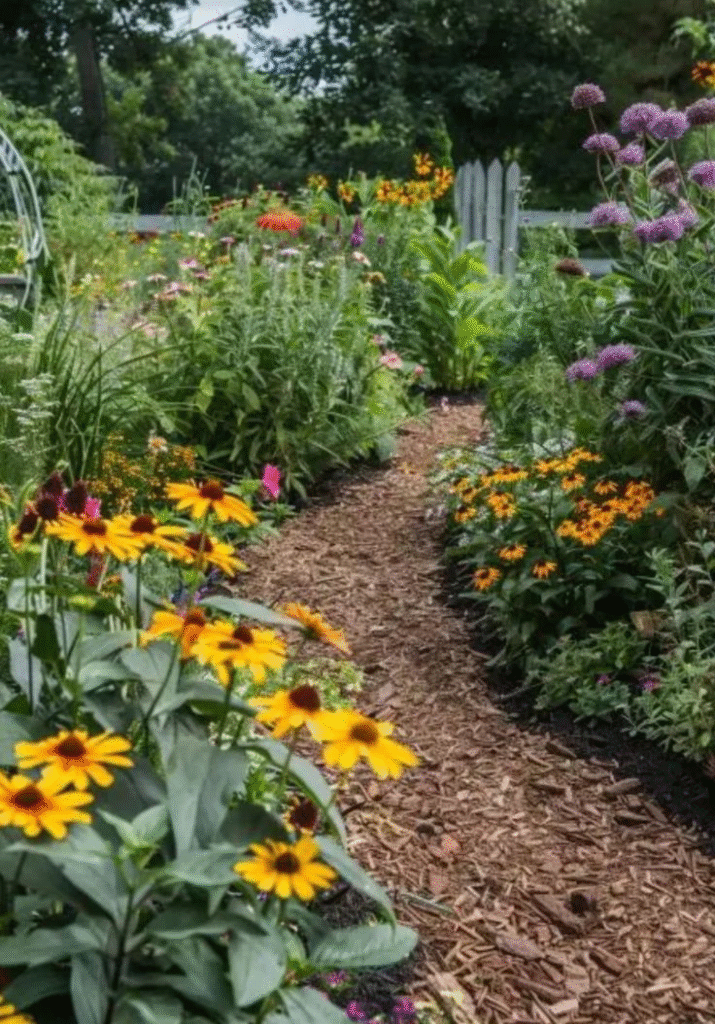
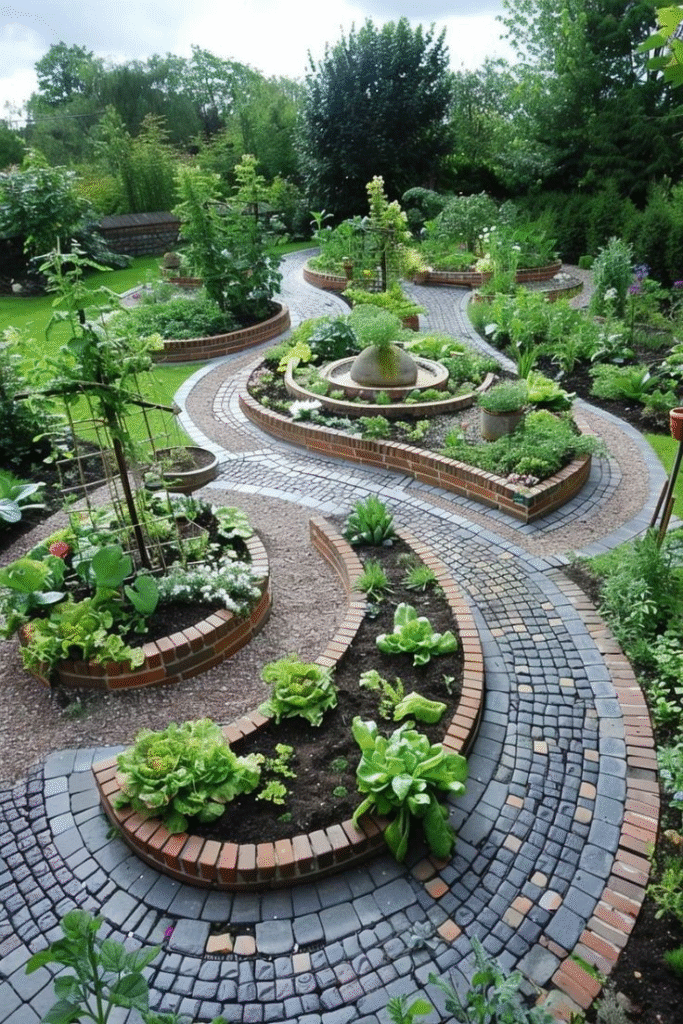
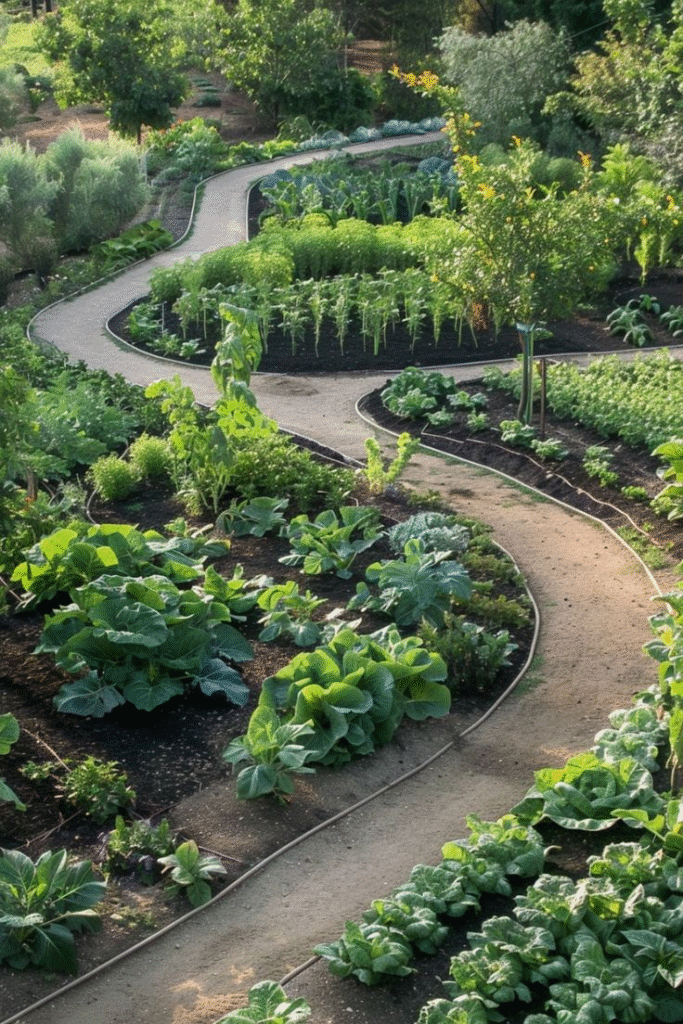
Serpentine Layout
Beds arranged in an S-shaped curve lend a natural, flowing rhythm to your garden. They also work like mini windbreaks, which is handy in breezy areas.
Plant taller veggies or vines on the curves and low-growers inside. It looks wild but grows like a pro.
Use the serpentine shape when your space is long but not wide, or when you want your garden to look more organic and freeform.
Tiered Raised Beds Layout
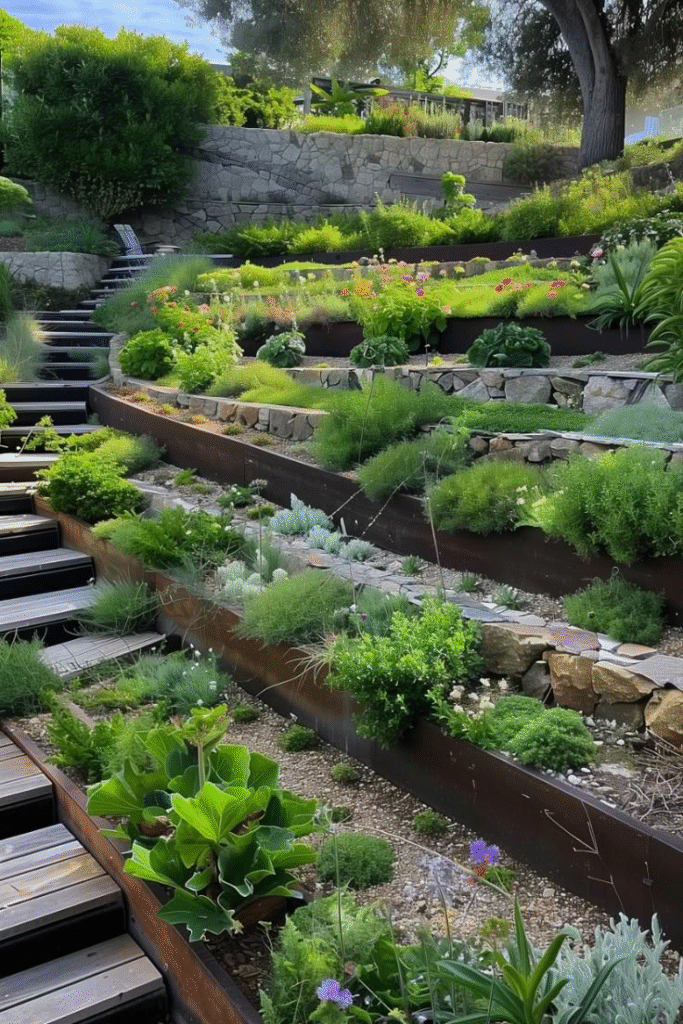
If you’ve got a slope, embrace it with tiered raised beds. Like garden bleachers, they let every plant get a front-row seat to the sun.
It’s brilliant for erosion control and helps you plant by sun and water needs—drought-tolerant on top, moisture-lovers on the bottom.
Stat Alert: Tiered beds increase growing space by up to 40% on sloped terrain versus flat beds.
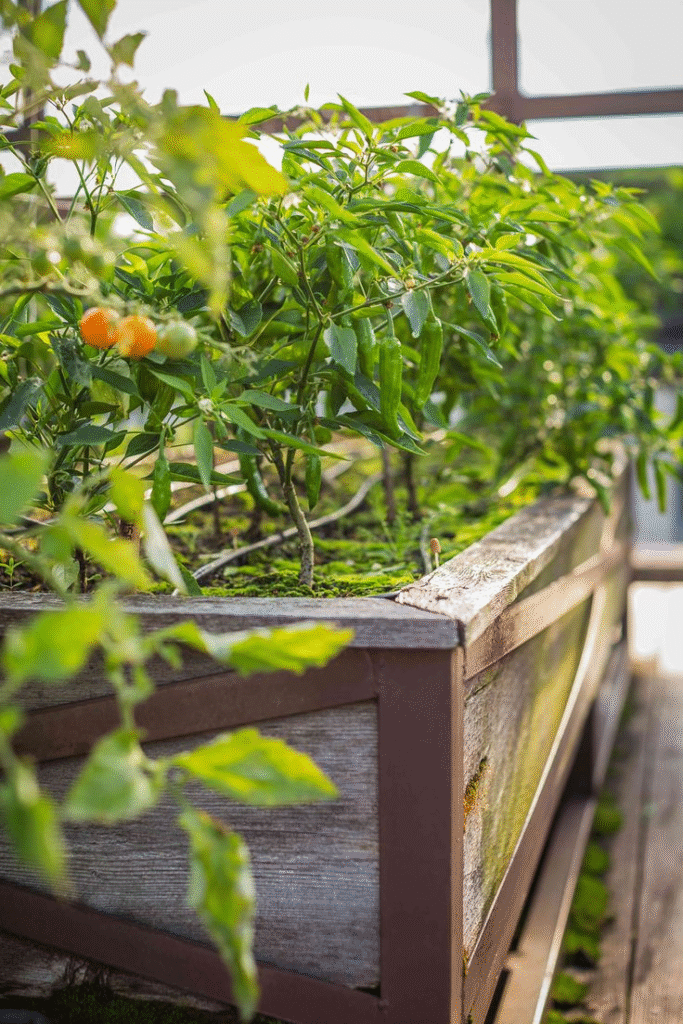
Raised Bed with Vertical Trellis Layout
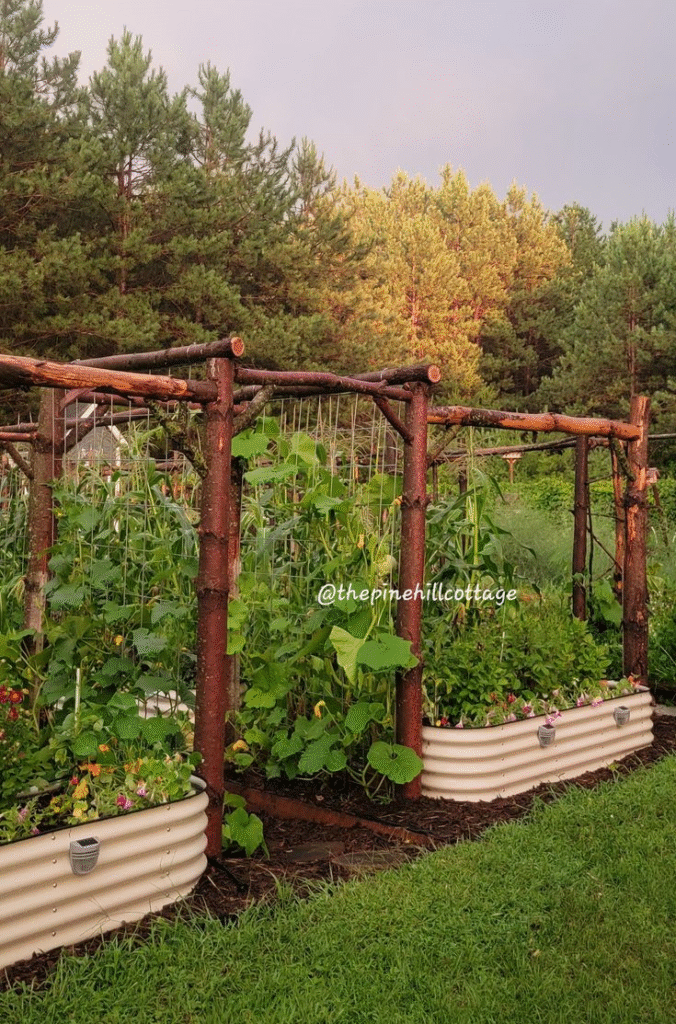
Combine raised beds with vertical growing structures like arched trellises or teepees to grow upward.
Perfect for cucumbers, peas, beans, and even melons (with slings for support).
Set up parallel beds with arches connecting them, creating walkthrough green tunnels in summer. It’s both magical and extremely practical.
Bonus: vertical growing doubles your yield per square foot.
Greenhouse Layout with Raised Beds
If you’re gardening in cooler climates, consider putting your raised beds inside a greenhouse.
Arrange them in a U or double-row layout, with a central walkway for easy access.
Raised beds warm up faster in spring and retain more heat at night. Pair that with a greenhouse, and you’re extending your season by 2-3 months.
My kale was still going strong in December once I moved into this setup. Friends called it the “spa retreat” of gardens.
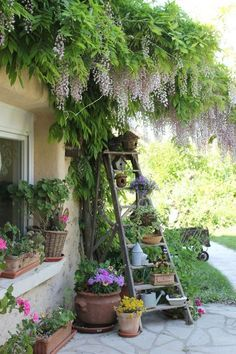
Modular Layout (Mix-and-Match)
Instead of a fixed layout, use a modular design with movable beds or planters. This is ideal for renters, balconies, or people who love changing things up.
Use lightweight, wheeled raised beds, or beds made from milk crates, wine boxes, or corrugated steel.
Arrange them in different shapes depending on your season or sunlight.
Think of it like garden Legos — infinite combinations, zero commitment.
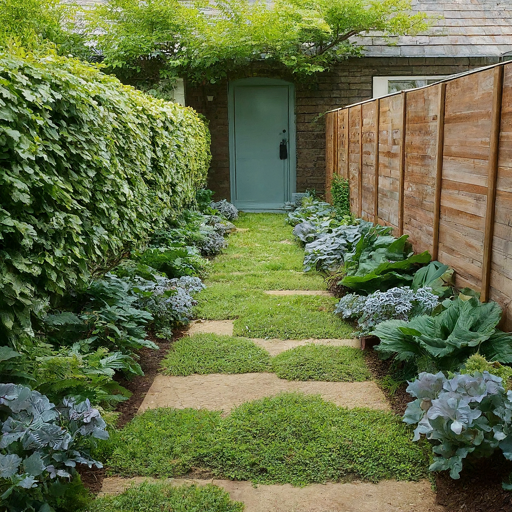
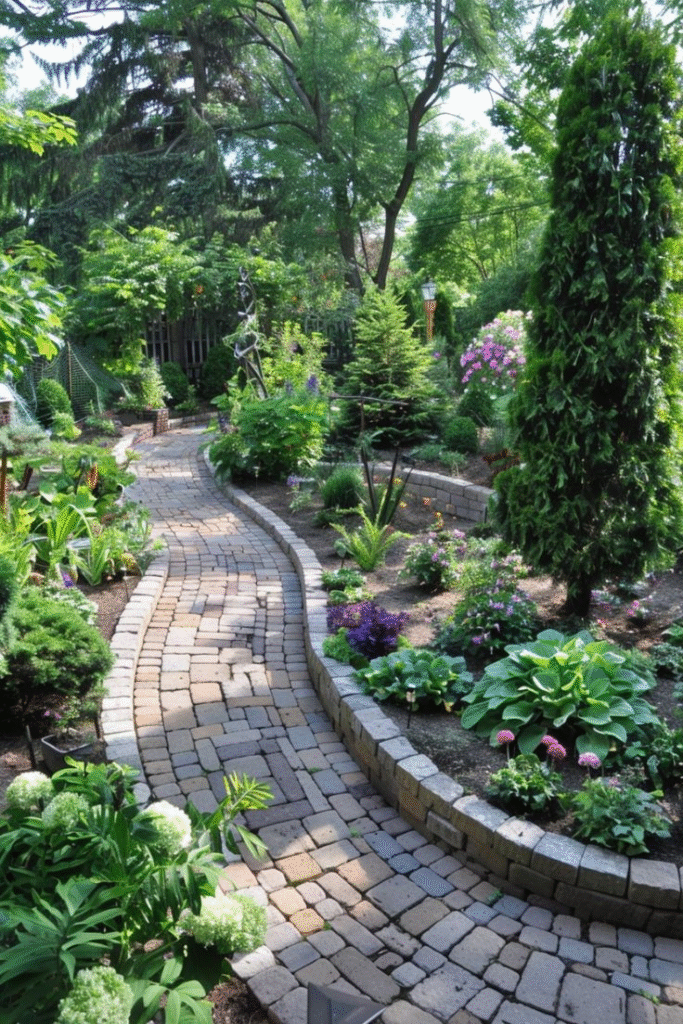
Border Layout
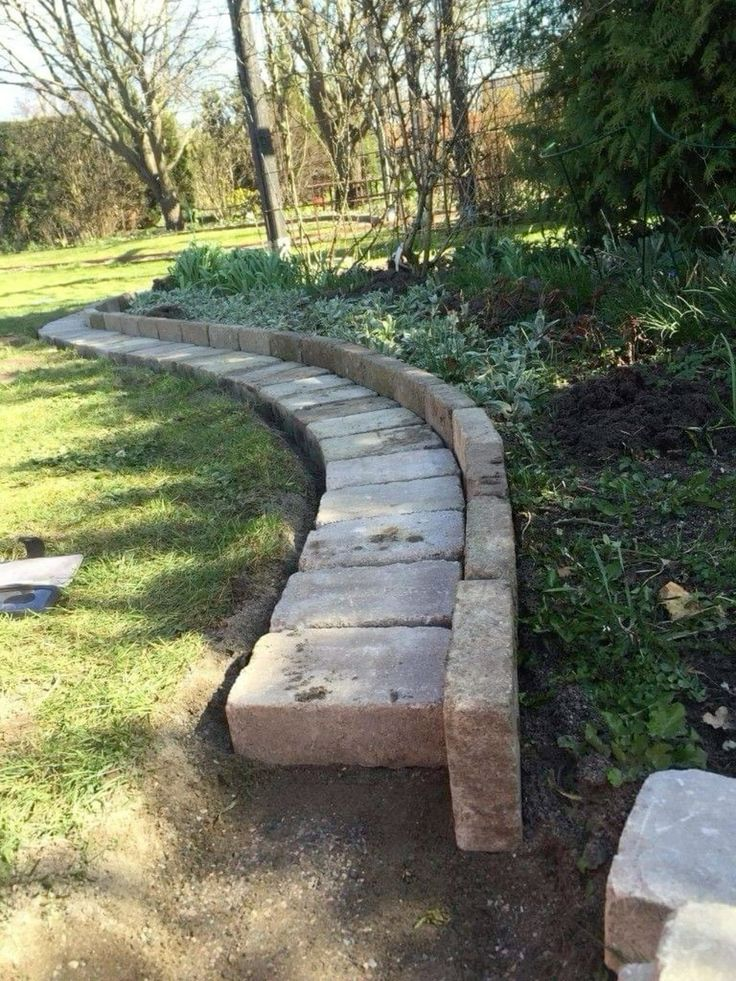
Frame your backyard with raised beds along the perimeter fences or walls.
It creates a natural border, saves space, and provides the backdrop for climbing plants like tomatoes, beans, or flowering vines.
This layout works great for urban gardeners who want beauty without losing open space in the center of the yard.
And yes, it turns a boring fence into a living wall of flavor and fragrance.
Zoning Layout
Divide your garden into “zones” — one for leafy greens, one for root crops, another for pollinators, and so on.
It’s a layout based on function rather than shape.
Label each zone with cute wooden signs and treat each like its own mini ecosystem.
It makes crop rotation easier and helps with targeted watering and feeding.
Stat Worth Knowing: Zoning has been shown to reduce cross-contamination of pests by up to 30%, especially when paired with smart companion planting.
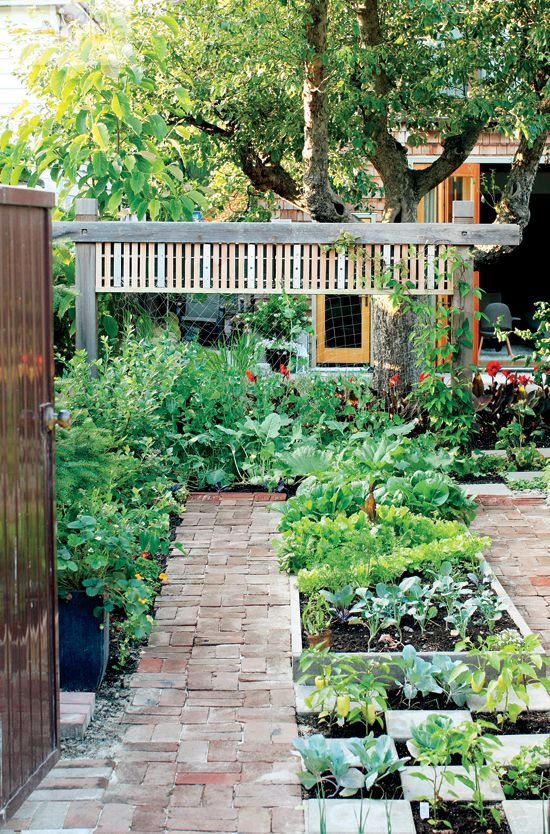
Checkerboard Layout
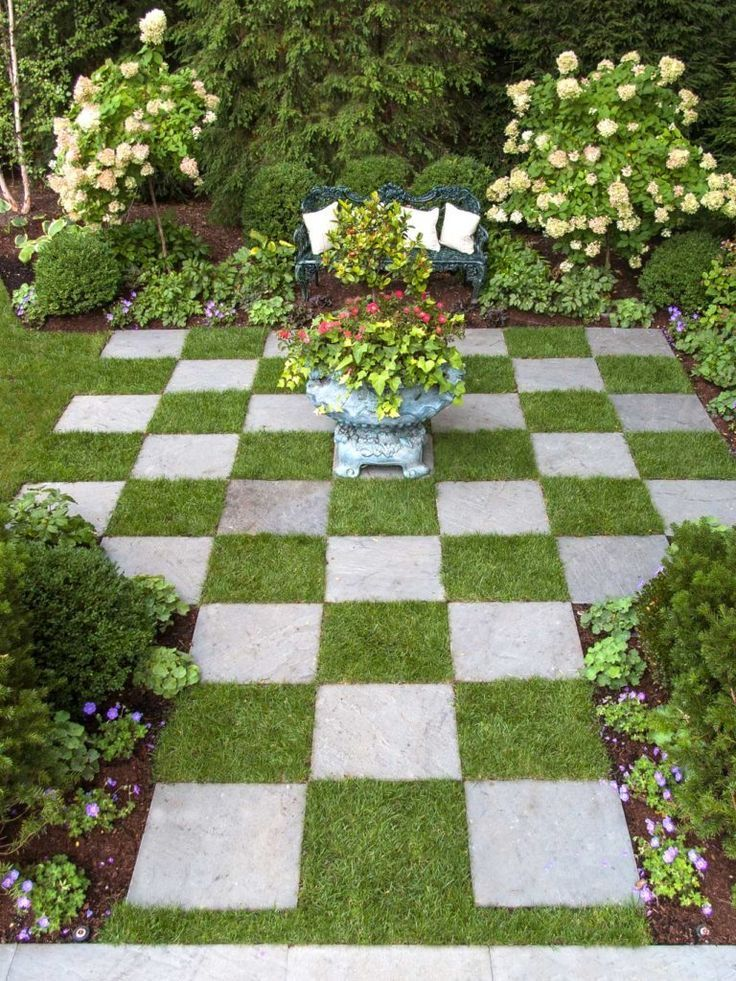
Alternate beds with paths in a checkerboard or grid pattern.
This isn’t just aesthetic — it improves airflow, limits fungal diseases, and makes harvesting easier.
Use different materials for contrast — gravel between wooden beds, brick pavers between metal ones. You’ll feel like you’re walking through a living chessboard.
Plant bold, structured crops like kale or cabbage to enhance the geometric effect.
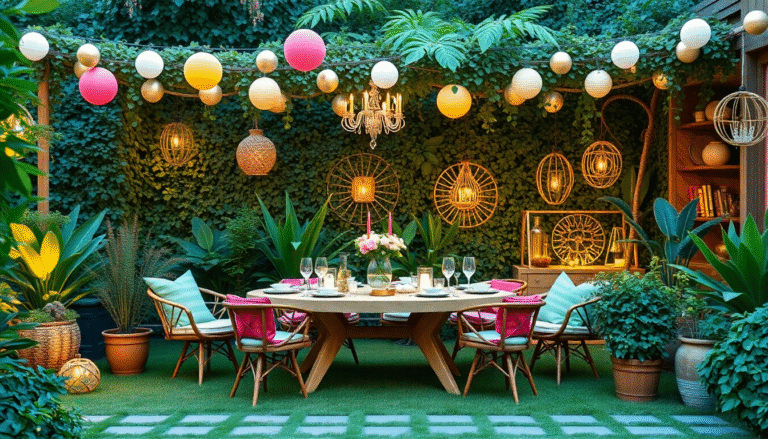
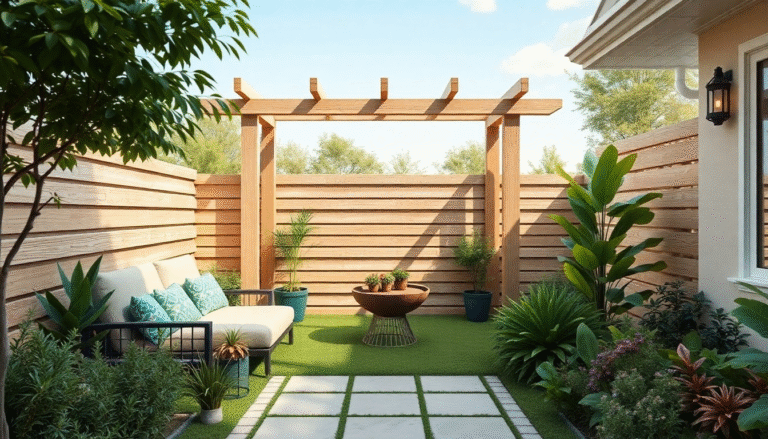
Raised Beds Around a Patio or Fire Pit
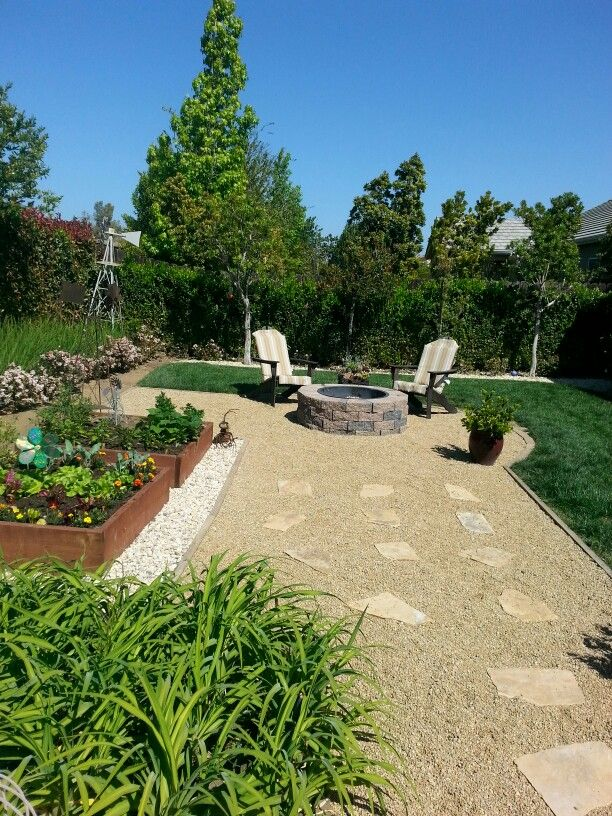
One of the most delightful layouts is to surround a seating area—like a patio or fire pit—with raised beds. It blends the joy of growing with the joy of gathering.
Grow herbs and veggies close to where you cook and eat. The basil practically hops into your pasta pan.
It’s efficient, lovely, and turns gardening into a shared experience.
Final Thoughts
Here’s the truth: there’s no one-size-fits-all layout. Your ideal raised bed arrangement depends on your space, your plants, and your lifestyle.
But hopefully, these 19 ideas have sparked a few “aha!” moments.
Start with one that excites you. Think of your layout as a living blueprint — it can grow, shift, and evolve with your gardening journey.
And if your first attempt looks more like a toddler’s block stack than a design magazine spread, don’t sweat it.
I’ve tripped over so many layout fails I could start a blooper reel. But each stumble led to a smarter solution — and a more beautiful, abundant garden.